Saturday, November 27, 2010
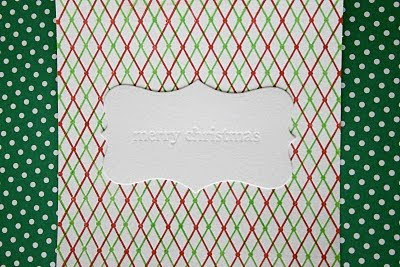
How to use the Letterpress....
Friday, November 26, 2010
Design Ideas using today's Black Friday Steal!


Thursday, November 25, 2010
Black Friday Teaser #2
- Steals are up to 76% off retail
- 5 bundles for every price range
- Deals go live at 12:00am PST/3:00am EST
- Be sure to check out this blog for a ton of design ideas using the Black Friday Deal

Tuesday, November 23, 2010
Black Friday Teaser and a Winner!

And a winner...I used Random.org to randomly pick a number (#8), not because she left a comment that made me smile :)
I am thankful for Crafty Steals and the great deals you have!! ; )
Sunday, November 21, 2010
Tomorrow we welcome Teresa Collins & a Giveaway!


Friday, November 12, 2010
More design examples using Indie Girl....


Thursday, November 11, 2010
Tomorrow is Free Gift Friday...

Monday, November 1, 2010
Using EAD Designs Vinyl Wall Art
 Here is some information on Tuesday's Steal....Vinyl Wall Art by EAD designs.
 Applying/Removing
Application Instructions
1. Surface Preparation
Use a tape measure or ruler to determine the exact area where the quote/graphic will be placed. It is a good idea to draw a horizontal line, or use masking tape or painters tape for a guide. Make sure your surface is clean and smooth. The vinyl can be installed just about anywhere you want to put them. Painted walls (light and medium texture work fine, including knock down and orange peel) ,wood, furniture, ceramic tile, metal, glass, porcelain, painted brick, wallpaper, bathroom sinks, showers, doors, hardy plank, mail boxes, and much more.
2. Prepare Quote
Some quotes/graphics will come rolled up because of the length. Unroll and let it sit flat until it stops trying to roll itself up again. The vinyl is sandwiched between transfer tape and backing. You want the vinyl to stick to the transfer tape. Before peeling the back paper off, burnish (rub) the surface of the transfer tape to ensure the vinyl is adhered solidly to the transfer tape. (letters may pull away from the transfer tape during shipping)
3. Application
Flip the quote/graphic over a carefully peel the backing away from the quote on an angle, which should remain on the transfer tape. If some of the vinyl sticks to the backing, replace the backing and the vinyl to the tape and rub it again so it sticks to the transfer tape instead. Place the taped vinyl on the prepared surface using your guide or tape to position your vinyl correctly. *The quote cannot be repositioned once it is on your surface, so be careful to line it up where you want it.
4. Burnishing
Using the application stick or credit card carefully and press any air bubbles out from underneath the words. Burnish again and apply more pressure over the entire area.
5. Transfer Tape Removal
CAREFULLY peel back the transfer tape on an angle leaving the vinyl on your surface, If the vinyl tried to come up with the transfer tape, place the tape back on the surface and burnish that area again until the vinyl sticks to your surface.
6. Enjoy your vinyl design creation!
Removal
Removal of your Quotes/Graphics is easy: use a blow dryer over the vinyl and peel them off the surface.
*E.A.D DESIGNS can not be held responsible for damage to paint or any surface. We speak from our experience, and cannot insure that all experiences will be the same.
Q. What exactly is vinyl lettering?
A. Vinyl lettering is a pre-pasted, pre-spaced, individually cut letter /saying that gives the look of hand painted stenciling but without the hassle and time. It is very easy to apply and take off and is a beautiful way to decorate any room in your home or office. Our Lettering and Graphics are made only from High Quality Vinyl
A. Lettering works great on painted walls, glass, mirrors, metal, tile, paper, wood, most wallpaper, etc. The “orange peel” walls work fine if they are not too lumpy.
A. Once you have removed your lettering it cannot be re-used.
A. Carefully wipe with a clean cloth as you would for painted stenciling.


