The longer I work here at CraftySteals.com, the more interested I have become in stamping. I don't know whether it has more to do with all of the fun stamps that Stephanie finds, or the fact that so many of you share your incredible stamping talents and make me want to expand my crafty horizons. In any case, I'm now adding stamps and ink to my list of craft supplies to hoard (along with thickers, patterned paper and punches). I am also constantly searching out new (or new to me!) techniques to use with stamps.
This morning, I'm sharing a new technique that I've been playing with to color in stamped images. It uses colored pencils, odorless mineral spirits and a blending tool. Some of you may have heard of this mentioned with Gamsol (which is a brand of odorless mineral spirits). You can use this technique to blend colors together and make the colors looks smooth without visible pencil lines. It's a very cool technique with what I think is a fairly small learning curve, and looks great for not a lot of work!
Here's all you need:
Colored Pencils
A note: You'll need to use a better quality pencil than the Crayola. Many people love to use Prismacolor pencils, I actually used Staedtler pencils because I've had a set for twenty years and figured I would use them up before investing the cash in more pencils.
Odorless Mineral Spirits
As I mentioned, Gamsol is probably the most mentioned brand - it can be found in art supply stores. I don't have one in close proximity, so I picked up the Masterpiece brand at a craft store. I've also heard Mona Lisa makes a brand sold in craft stores, and even Wal-Mart carries a cheap version.

Blending tools
I picked up some blending stumps at the same craft store where I got the odorless mineral spirits. They are basically tightly rolled paper pencils. I've also seen q-tips used as well as other blending tools. You can experiment with what you like the best!


Now that you've got the tools, here's how to use them (well, how *I* use them, at least!).
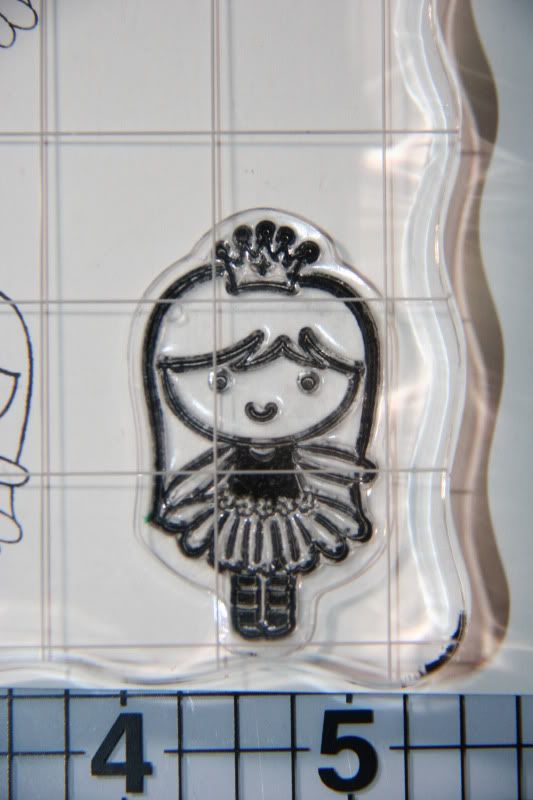
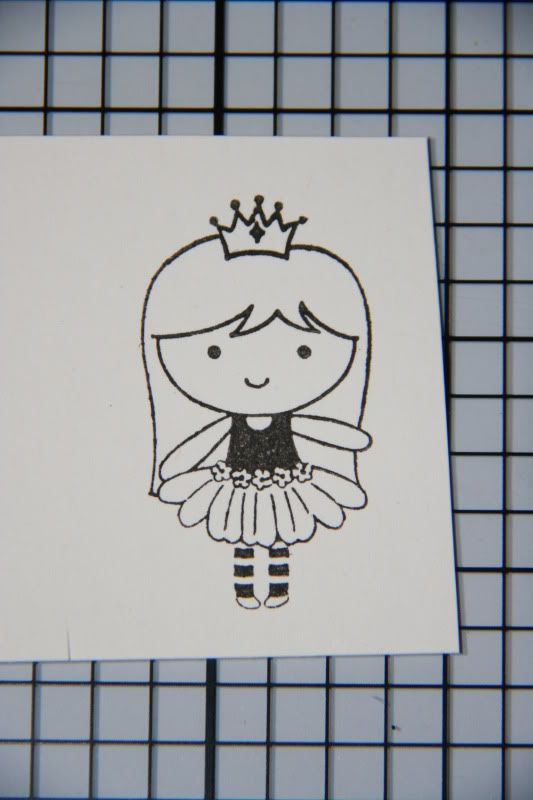
Stamp your image onto a piece of cardstock (I'm using the very adorable princess stamp from a past steal, Imaginisce's Enchanted).
Color in your image with the colored pencils. On the skirt, I used a darker pink to outline, and a lighter shade on the center. Also, I didn't have to be too careful with the pencil marks, as I knew they would be softened later.
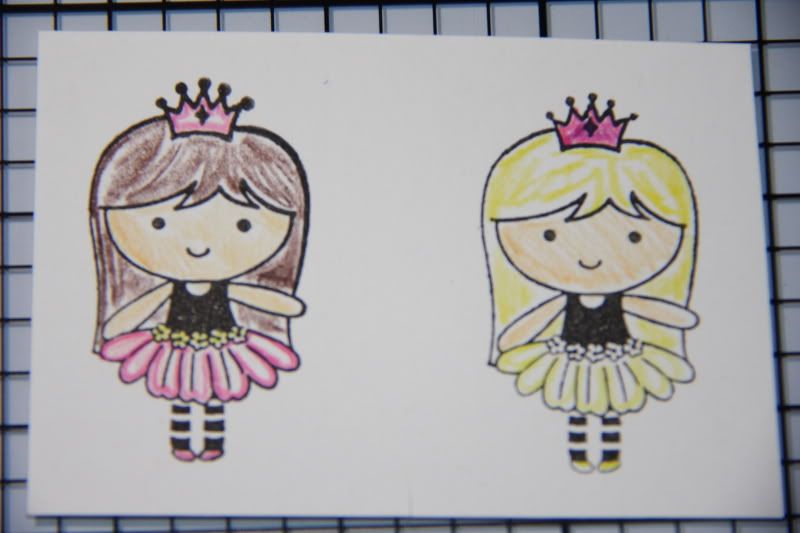
Next up, the blending! Dip your blending stump into the odorless mineral spirits, getting it wet, but not dripping wet. Now you can carefully blend the colors together - moving the tip gently over the colors (on the skirt I went from dark to light).
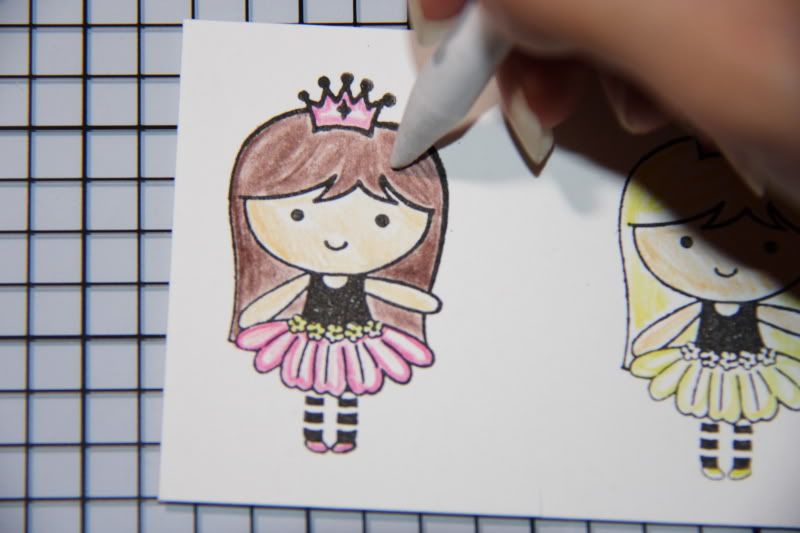
To clean off the stump, you can just rub it onto a piece of scrap paper. It can also be sharpened like a pencil.
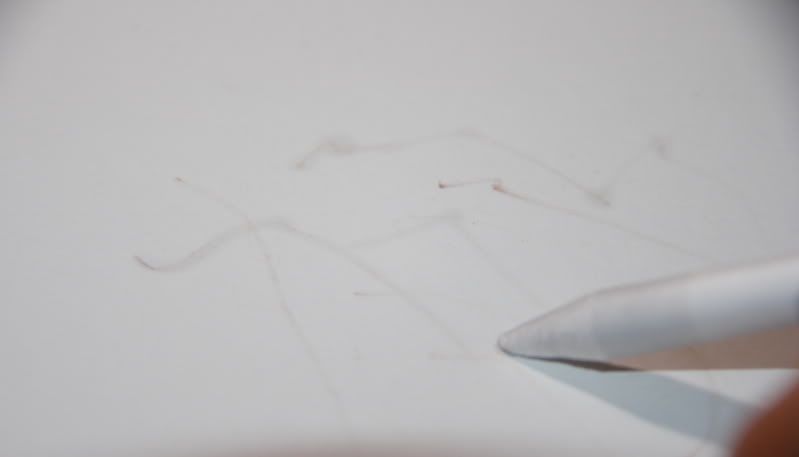
When you have blended to your satisfaction, you're done!
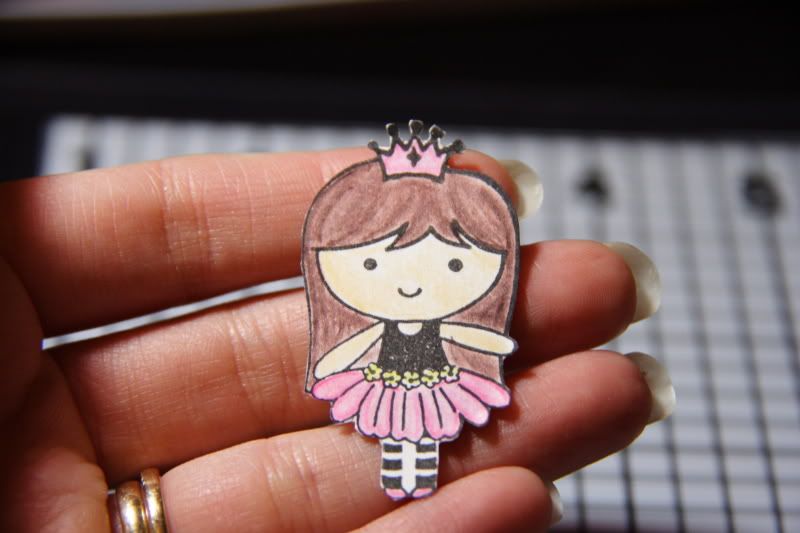
I cut out this sweet little princess as an embellshment for a birthday card. I finished off the card with some punched out circles and scallop-edged circles, adhesive border strips and ribbon - all from the Imaginisce line.
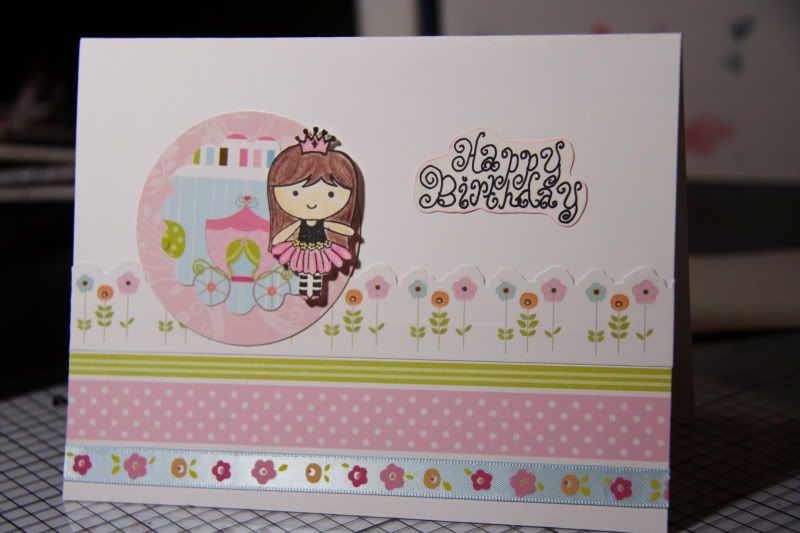
What do you think? I personally love that there is more control than using a watercolor pencil (at least in my experience), and it's a relatively inexpensive method of coloring (I have yet to dive into the world of Copics or similar markers). I hope you'll like it too (if you haven't already tried it). Don't forget to check out today's steal for some new supplies to get you started!
Have a fabulous day, and Happy Crafting!

By the way, I *hope* the comments are working again for the blog. Let us know if you have any issues!