
I don't know about all of you, but I'm on a constant mission to get my "stuff" organized. With the tulips and daffodils starting to bloom around here, it's time to start my spring cleaning. And this Spring, I'm focusing on our office/craft room. The room was originally my son's nursery, and then later, my daughter's (it's on the same level as my bedroom). About a year ago, we moved her upstairs and moved our office into this room.
Now, I have seen pictures of gorgeous craftrooms online, but since I have to share the space with my husband, I had to make some compromises. (He wouldn't go for the white furniture!). So we purchased shelving, and desks, and I stuffed them full of my craft and art supplies that I pulled from the backs of cosets where they had previously been living. I promised myself that I was going to organize my stash and be able to utilize the space to get more crafting done!!
Yet here I am a year later, with no real organizational system in place, stuff jumbled together in drawers and cabinets (which makes it very difficult to get ANYTHING done. Plus, for some reason my stuff seems to be multiplying in the shelves when I turn my back! (I blame CraftySteals).
Here's what it looks like today. Now, I'm giving the real life version here - boxes and junk and all. (I will admit to cleaning off the desktop though!).


So this week starts my own personal Mission Organization, and along the way, I'm going to show you how I'm progressing and give you some tips on taming your treasures too.
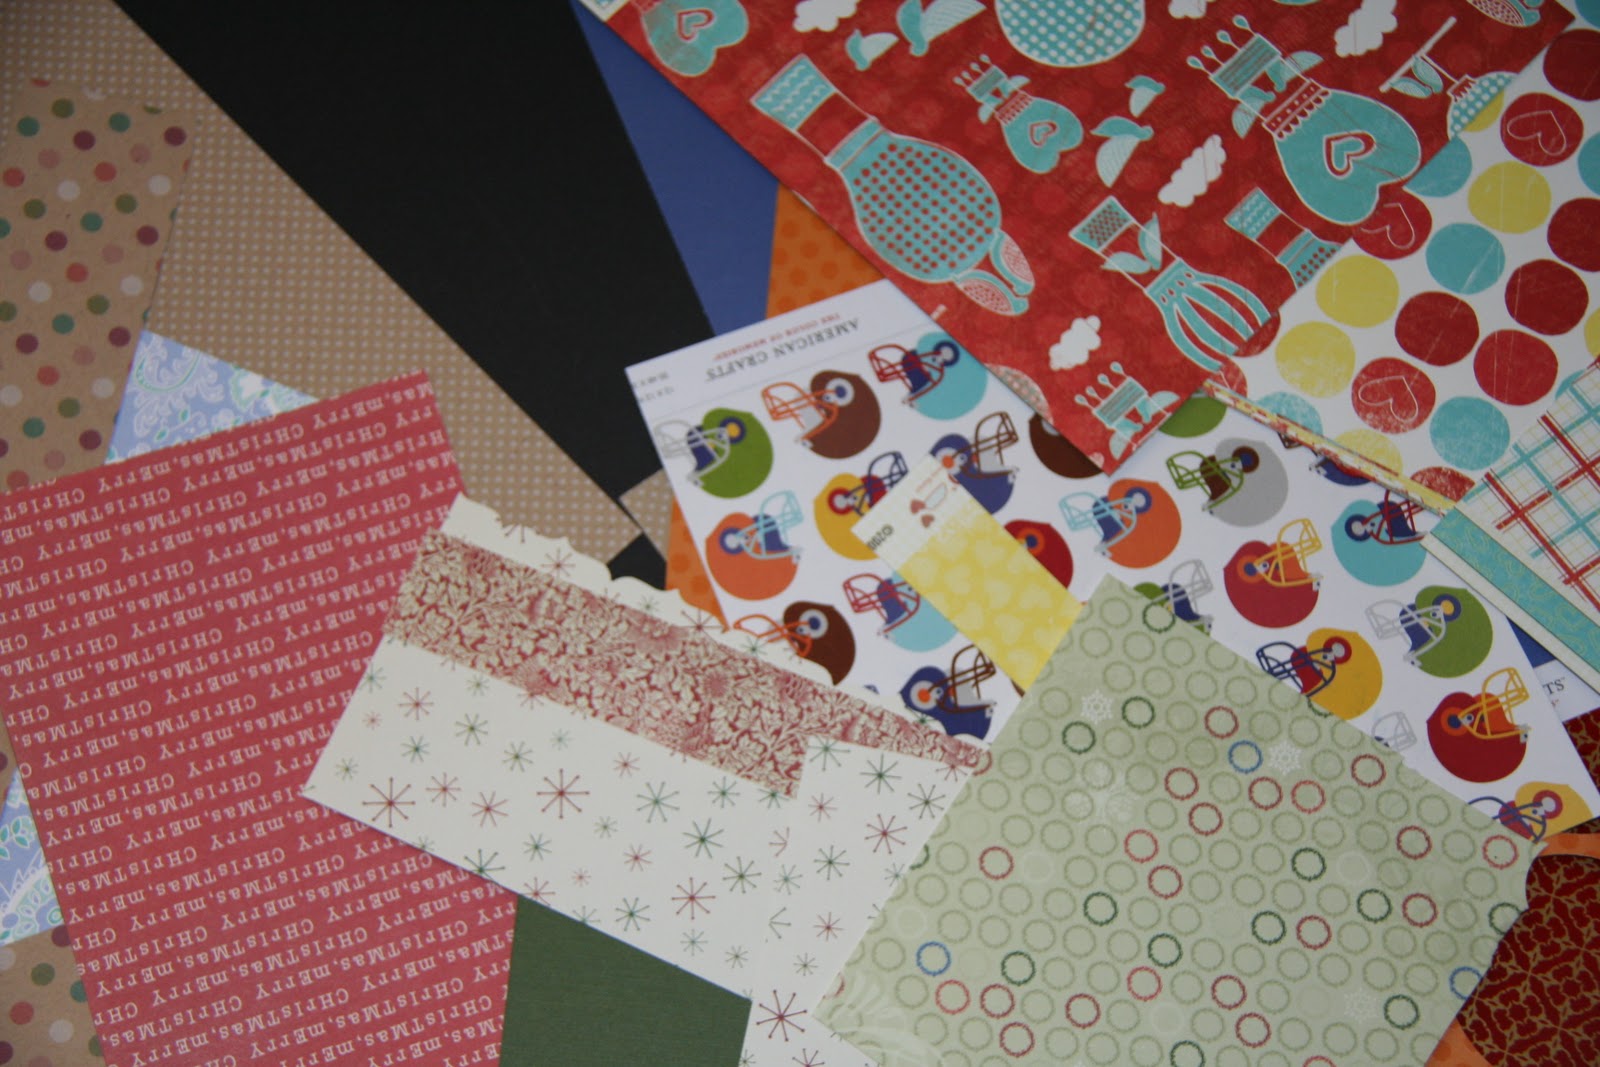
Today, I'm starting small, with my paper scraps. (I'll tackle the actual paper later!). I'm a person who saves scraps of all sizes. I used to throw them in a drawer. A drawer, (at least in my experience) is NOT a good method for storing the scraps to help me find them and actually USE them later.
Sometimes the answer is so simple. And I didn't have to pay a penny for it.
I took a 12X12 album that I already had laying around (I don't use post-bound albums anymore, but have a few empty ones from years ago).
I put in sheet protectors and a piece of 12X12 white paper in each one. The paper acts as a divider so I can get two scrap "pockets" from each protector.
Then I made tabs (I made these on the Silhouette), laminated them, and attached them to the page protectors.

Now I have handy scrap storage that can easily be changed if I need another color or paper theme added (I used a dry erase marker to label so changing the tabs is easy). It takes up almost no space and you can see what scraps you have so much more easily than if they were jumbled all together in a box or drawer.
What about you? Anyone else working on organzing? Any other fabulous ideas to store scraps? Or do they go directly into the recycle bin...
Have a great Sunday!

I always have great ideas for organizing my craft room when I am sitting downstairs on the couch. Then I go upstairs and am so overwhelmed by the magnitude of the mess that I can barely get started. My newest idea is a cube unit from Ikea. I'll let you know if I actually go buy it. LOL
ReplyDeleteThat is a great idea! And one I never would have though of :) I have to admit my scraps are all in a pile that falls out of the cabinet every time I open the door... Thanks Andreana!! ~ Steph
ReplyDeleteWhat a simple and smart way to organize those scraps. I too save all my scrap paper and have lately been storing them in a file folder holder that is attached to my cabinet. Jumbled up mess. This is perfect and I will do this as soon as I can get to it. Thanks for the tip.
ReplyDeleteI put my scraps back with whatever stack or paper I cut them from. That way I'm always sure of matching up the color that I need. And, I put them away as soon as I finish the project so it all goes back into it's place at the same time.
ReplyDeleteI must say that I enjoy these "Sunday School" classes. What a clever way to have these scraps at your finger tips! Mine are in a box, but things can get bent or torn with you ruffle through them looking for what you "think" you have. Thanks for sharing and the inspiration! :)
ReplyDeleteMy daughter & I scrap together. So we have a lot of scraps. Too many for your suggestion but I love the idea. We store ours in 2 gallon ziplocs. 12 x 12 paper will fit in those. And we have a bag for each color & major holidays. They are stored in a box alphabetically. I have a couple of file boxes with boxes in them. and the scrap box sits on top of these. When you need a scrap you just pull out the bag. works for us, and nothing is falling out as it used to when we used file folders.
ReplyDeleteI do exactly what elylyl does by putting them back in with the 2 gallon zip locs that my original stuff came in (I'm a Close to My Heart junkie so those of you that know how their stuff comes understand what I'm talking about). When I first started scrapping though I kept them in a accordian folder labled by color. Both have worked well! PS - I just organized my scrap room a few months ago, it's so liberating! :)
ReplyDeleteGreat idea I bought a 10 drawer cart at sams for $34 and put my scraps in drawer arranged by color. Works great for me but I still may use your album for themed paper. thanks.\
ReplyDeleteMary Beth c
My favorite organizer idea is for punches. I bought a couple of over the door shoe organizers. Hung them up over my closet doors. Store my punches in each pocket. Even the large punches will fit. And I can store several small punches in some of the pockets. The pocket are clear so I can see what punches are in each pocket. Works great for us.
ReplyDeleteThat's a great idea! I have hanging file folders in my desk drawer, and I have my scraps sorted by color. I really need to go through them though . . . often! I save too much! I need to figure out what SIZE to save, and then everything else needs to be recycled! Can't wait to see your progress!!
ReplyDeleteNeat idea... my mom keeps her scraps in a binder - but only uses 8.5x11 page protectors. She started as a card maker so didn't have a lot of 12x12 paper.
ReplyDeleteI keep my scraps in plastic boxes - just a little bigger than "shoe boxes". If the piece is 4x12 or larger I store it back in my folders on my shelf - that I have up on my desk.
great idea!!! i have them in a box...and i hate that i need soooo much time to look into them!!!
ReplyDeletethank you for sharing!!!
great idea! simple. easy to follow. fast to access. thanks for sharing!
ReplyDeleteLove the scrap storage idea. I am looking forward tot he rest of the posts. I need LOTS of ideas for my room!
ReplyDeleteLove that idea!! I am so going to have to implement that into my storage.. right now I have them in my Husband's huge Field bags (Clear huge bags the Army supplies for soldiers to put their clothes in) hanging on my wall for easy access, but they're getting heavy lol!
ReplyDeleteGreat ideas! Fun to read too! :)
ReplyDelete